An investment in solar power is long-term by nature, but you don’t want the installation process to take ages before you can reap the benefits. At Daystar, we’ve installed solar systems for factories in 6-8 weeks. While the actual circumstances and requirements of every factory varied, all the “fast-track” projects had one thing in common – the sites were made solar-ready based on the feedback from our initial audit. Although our audits take into account the specifics of each site , there are nonetheless five essential fixes that each factory owner needs to make. For your convenience, we’ve compiled them all in this short article.
Fix 1 – Make Sure Your Roof Can Provide a Solid Foundation For Solar Panels
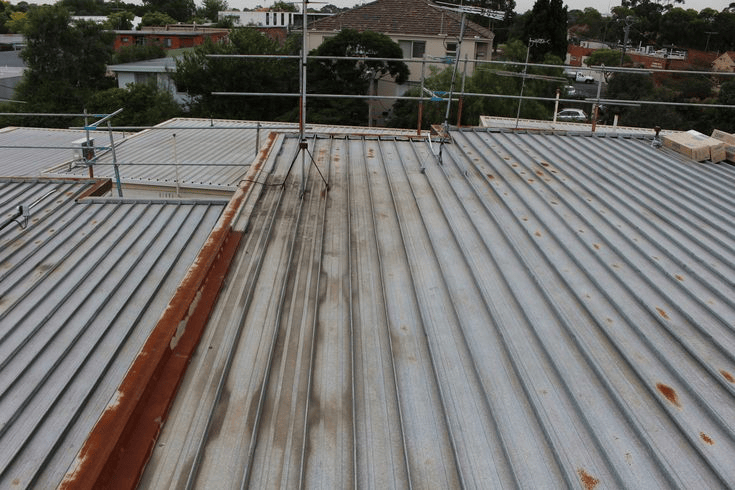
In our practice, there’s nothing that hinders solar installation as much as unreliable roofing. The simplest way we determine whether your roof needs fixing is a straightforward water leakage test. We bring a water tanker to the site and pour water on the roof to identify problematic areas. The reasons for water leakage are plentiful, and can be due to dents in the roofing sheets, poor quality (usually insufficiently thick) roofing sheets, and the old age of existing roofing.
Bad-quality roofing sheets are a problem found not only among small-scale manufacturers but also large industrial operations. From a bottling factory in Lagos to a major dairy producer in Nigeria’s Ogun State, we have encountered this problem countless times. If you are unsure about the integrity of your roof, make this fix your number one priority.
Fix 2 – Expand Your Electric Grid For Additional Capacity
To make solar work for you, first you need to make sure that your on-site electric grid is ready to accommodate extra power from your solar system.
Preparations boil down to two main points:
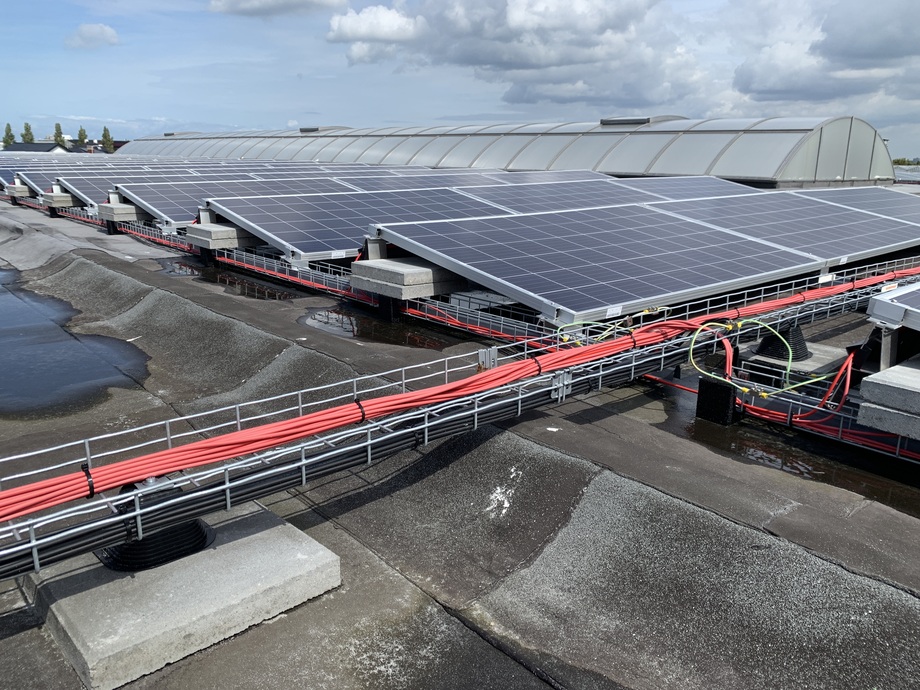
- Adding cable bridges
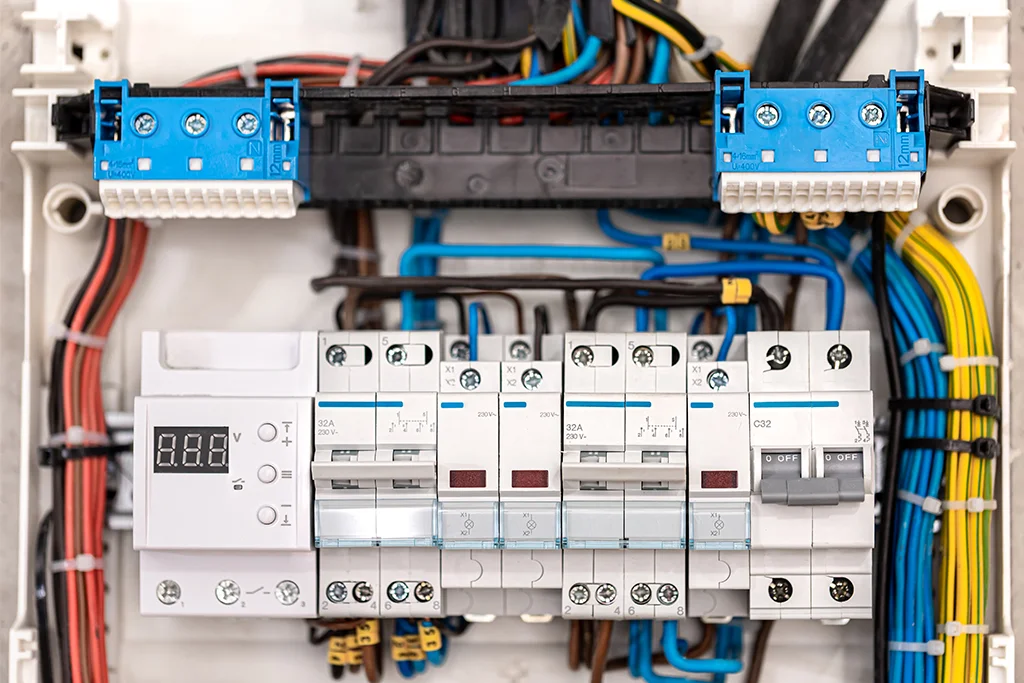
- Adding circuit breakers (also known as connection points)
Typically, cable bridges need to be added either to connect solar panels to the inverter room or the inverter room to the electric grid. Installing extra circuit breakers is a major requirement, because if their number is insufficient, the entire system might become prone to frequent failure after solar is integrated into your existing power set-up. And while you might think you already have enough spare circuit breakers, it is better to err on the side of caution. We have seen major operations having fewer circuit breakers than would be optimal – and this for the simple reason that the existing set-up worked perfectly well when only a single power source was in use.
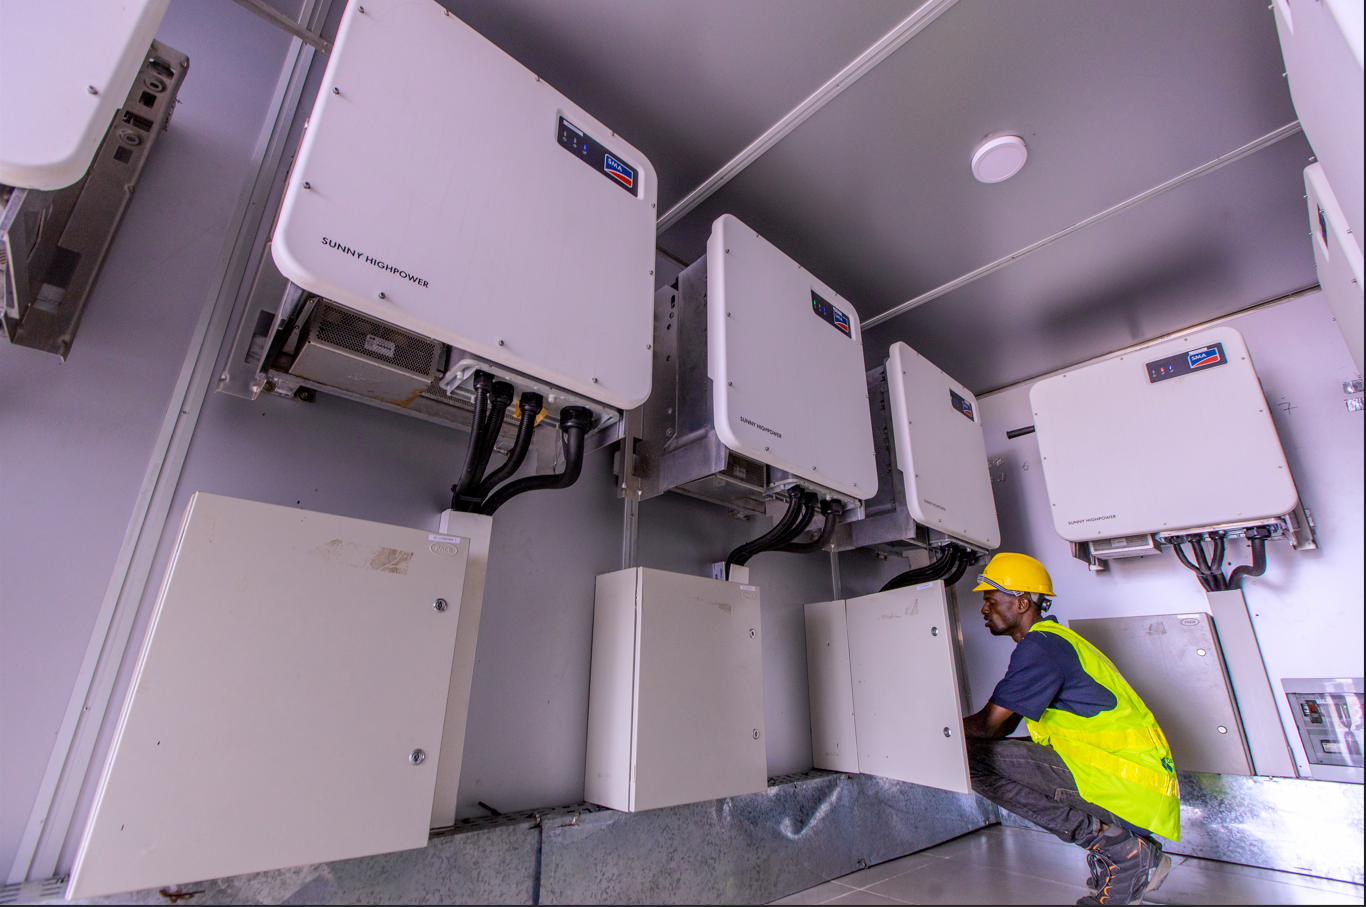
Fix 3 – Install An Inverter Room (if you don’t have one)
A solar inverter is crucial to the process of converting DC power (generated by the solar panels) to AC power. While in a household set-up, having inverters and power optimizers directly under the solar panels is common, this approach isn’t suitable for industrial applications due to scale and reliability issues.
One of the most common solutions is building a dedicated inverter room (or outbuilding) to host the inverters. Containers used for storage are also an option, if there is enough space on-site. In cases where space is limited, steel stands to mount the inverters can be installed on the premises.
Whatever the option you go for, it is paramount that additional air conditioning units are installed to prevent the inverters from overheating.
Fix 4 – Level The Area For Ground-mounted Systems
Clients who opt for ground-mounted systems need to make sure that the ground provides stable support. In some cases, all you need to do is clear away dirt, while in others you might have to level the area by adding gravel and sand.
While this fix might seem trivial, failing to apply it beforehand often leads to significant installation delays. For instance, an agricultural client in Nasarawa State in Nigeria had bags of produce in the area where installation works were supposed to take place. It took the client two weeks to clear the ground which led to a delay that was easy to prevent.
-min.jpg)
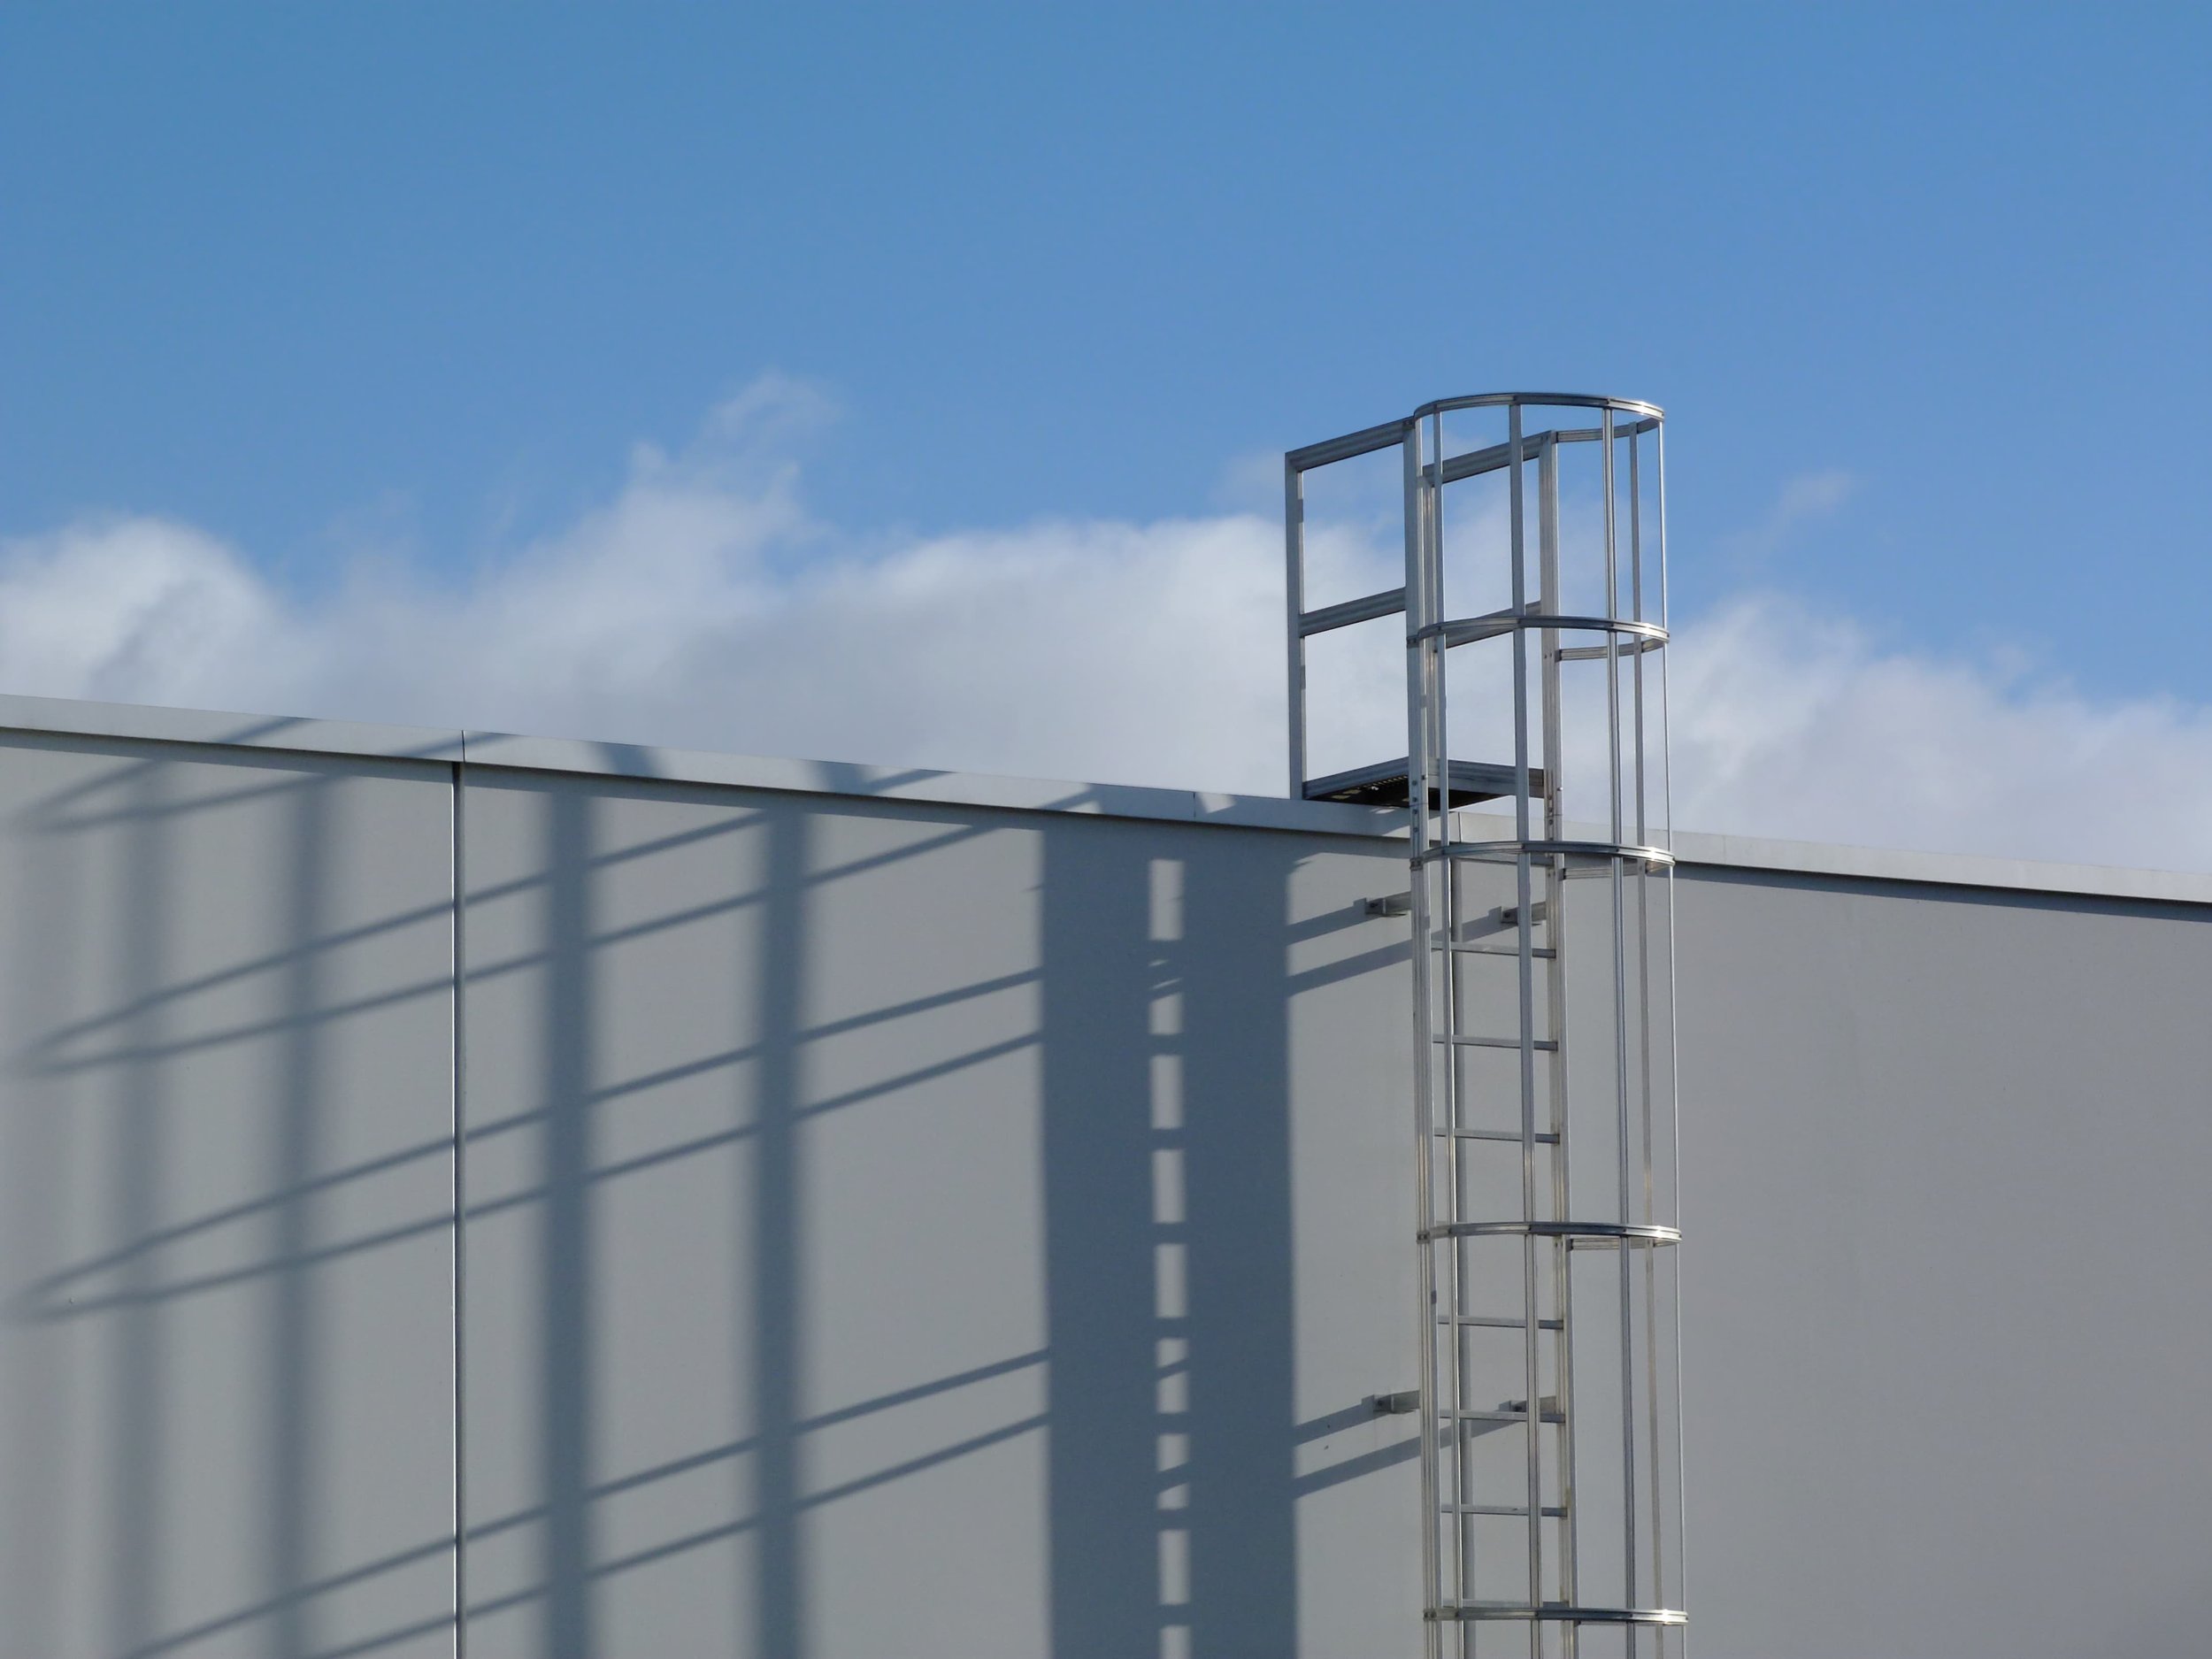
Fix 5 – Make Sure Safety And Maintenance Items Are On-site
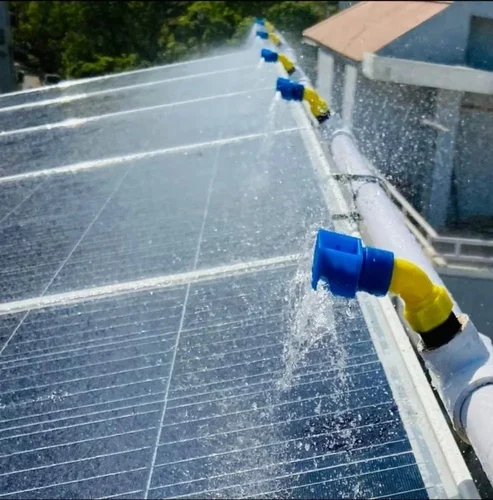
Having maintenance items available for Daystar technicians on-site saves significant time both during installation and throughout the maintenance phase. First of all, we ask all clients to have a CAT ladder, so our technicians can safely access the roof. Another important point is to have access to the water supply on the roof. Our maintenance & operations team cleans panels quarterly (monthly during the Harmattan season) and needs a water connection point on the roof to clean and rinse panels.
Benefits of Having Done Your Homework
Having worked across multiple industries and having come across every imaginable set-up, we can safely say that every installation project is unique. That’s why, before installation starts, we always conduct a thorough site inspection. Based on that, we provide the client with a specific list of things that need to be improved or fixed.
The amount of preparation you need to do will depend on multiple factors: your roof’s condition, existing wiring set-up, space availability, among others. But whatever the investment needed, the benefits are obvious. First of all, preparedness on your side means that the installation will be completed in a matter of 6-8 weeks. Second, the sooner you install solar, the sooner you’ll have access to a reliable power supply with 99.9% uptime that’ll generate significant energy cost savings.